|
w54_01
|
Preface:
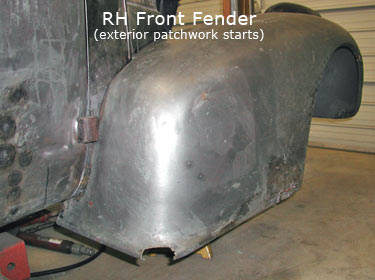
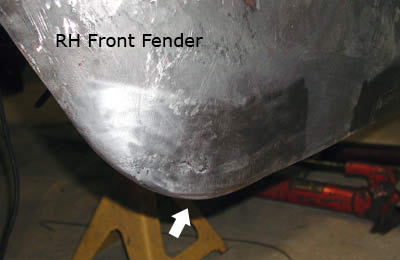
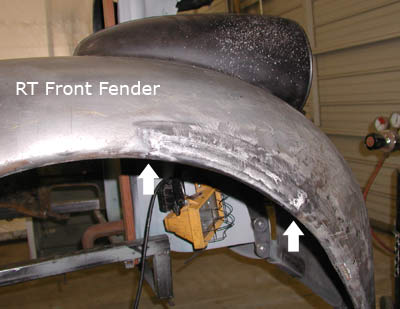
The RH Front fender also has several areas that must be replaced with new metal. These areas have previously been repaired poorly or they are rusted thin, or both. As you will see, this fender was in pretty bad shape.
|
w54_02
|
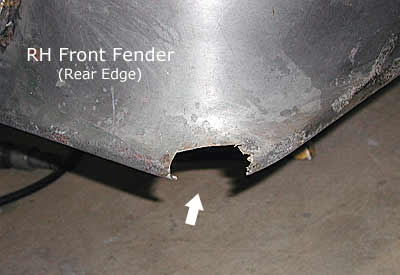
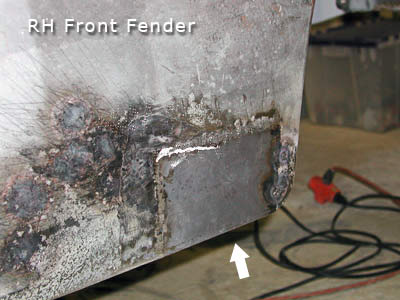
The white arrow is pointing to missing metal. At the back corner of the fender. This area was full of rust holes so it was cut away to allow for the new patch.
Because the area is made up of several compound curves, the replacement piece must be made in two separate sections-a (bottom edge section) and a (top section).
|
w54_03
|
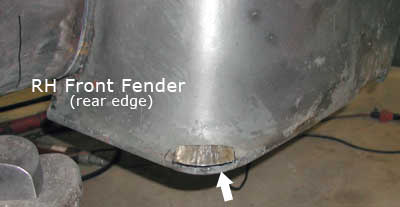
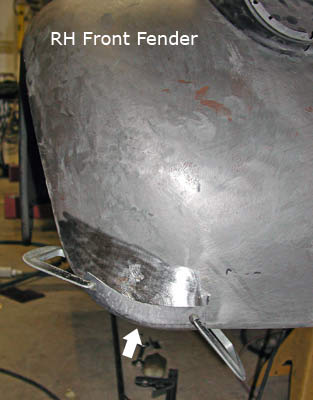
First the newly formed bottom edge piece is fit and welded-(white arrow). In this photo, you can also see the newly formed top section lying on top.
|

w54_04
|
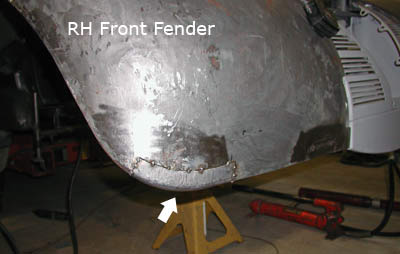
Both top and bottom pieces have been welded together, installed and metal worked to match the profiles of the corner.
|
w54_05
|
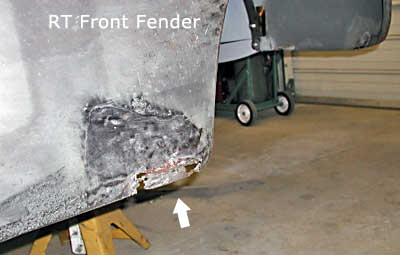
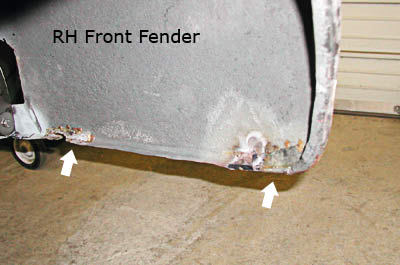
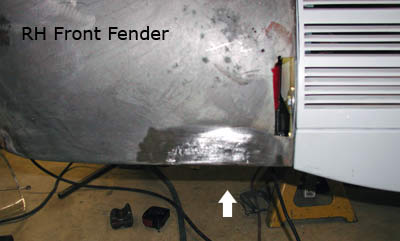
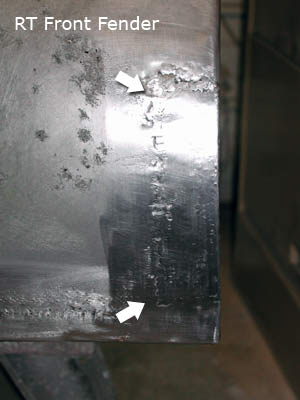
Moving slightly forward on the bottom of the fender, we come to another badly rusted and previously repaired area.
This section was previously repaired by some one using brazing rod. The metal was left very lumpy and thin, and consequently can not be worked any further. A large patch must be fabricated to replace most of the area seen here.
|
w54_06
|
Patch piece installed- (white arrow). The darkened metal to the left of the patch is where some heat shrinking needed to be done to tighten up stretched metal.
|
w54_07
|
(Seen from under the front of the fender more old repairs done with large lumps of melted brass, indicated by the white arrows. Both areas will need to be cut out and re-fabricated. The area indicated by the arrow on the right is the most difficult to re-make, since it is on the curved corner of the fender, and involves several angles.
|
w54_08
|
Here, the newly formed curved corner piece is clamped in place on the outside of the fender to test fit, before cutting out the old metal.
|
w54_09
|
New corner piece tack-welded in place.
|
w54_10
|
Final patch welded and metal finished.
|
w54_11
|
White arrow pointing to front patch installed & metal finished.
|
w54_12
|
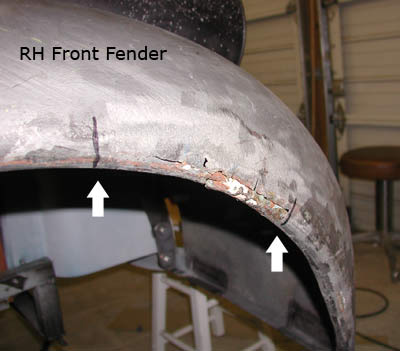
The area between the white arrows is another old repair gone bad. The metal is cracked and paper thin. The backside has a large piece of metal rod brazed to it. This area must be cut out and re-fabricated. The next photo shows the piece cut out and flipped over.
|
w54_13
|
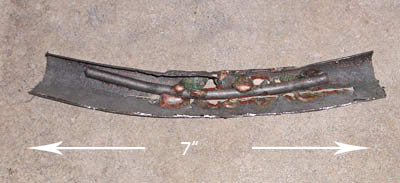
Here is the section removed and flipped over to show the old repair on the backside.
|
w54_14
|
A completely new replacement section fabricated and installed. (Between white arrows).
|
w54_15
|
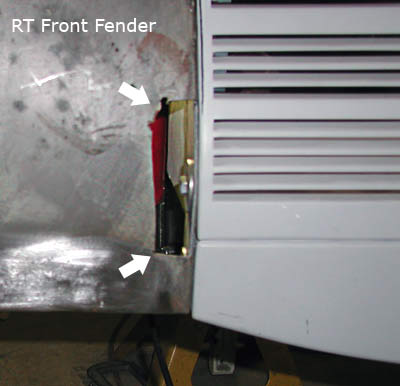
Here on the front of the fender where it meets the center grill vent, an area, (between white arrows) was completely rusted away. Next photo shows the patch.
|
w54_16
|
Here the patch is installed. Metal finishing not yet completed in this photo. All patching on this right front fender is completed.
|
Back to Top
|
|
