|
w50_01
|
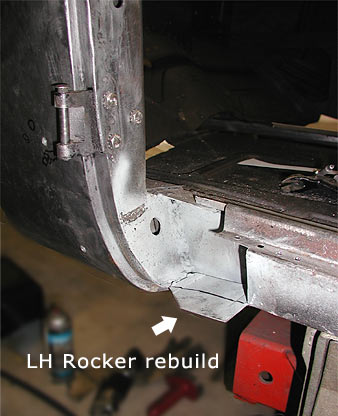
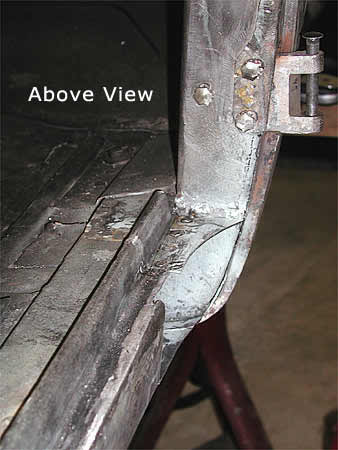
Now that the cowl is joined back to the floor, It's time to rebuild some of the missing sheet metal areas on both left and right rocker panels where they attach to the "A-pillar" AKA—(door hinge pillar). The photo above was taken after the reconstruction had already begun.
The missing area had a special curve where the rocker joined to the pillar. Patterns must be made from the parts car rocker, in order to fabricate the correct curves in the sheet metal.
At this point, one piece of sheet metal at the bottom of this left side has already been fitted. As indicated by the white arrow. The extra sticking out will be trimmed at the black line.
|
w50_02
|
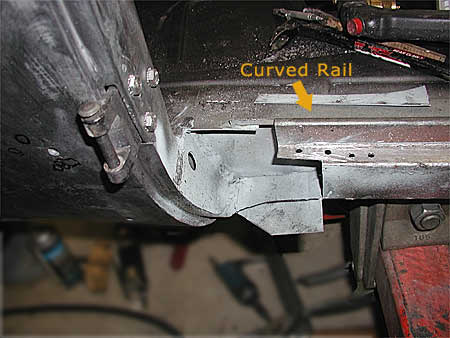
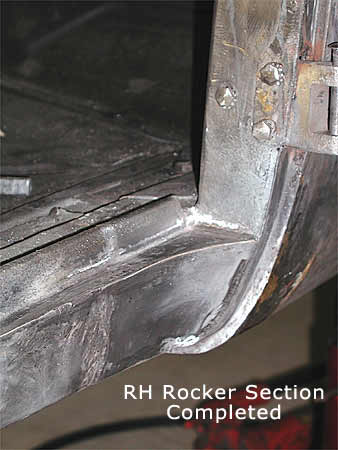
Also notice at the top of the rocker, there is a curved channel that runs the length—(see arrow). A new section of this piece will be fabricated separately and welded in. Both sides of the car will get this same repair.
Once this side is done, reversing the patters will help speed up repairs to the opposite side.
|
w50_03
|
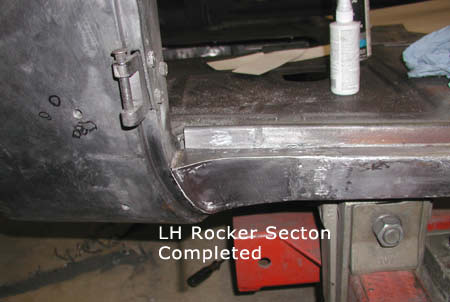
Three separate pieces were fabricated and welded together to create the new curved box section of the rocker seen above.
Got carried away doing the work and forgot to take photos of all stages. Oops! So this is the final product. The next group of photos below showing the rebuild of the RH side shows more of the steps used.
|
w50_04
|
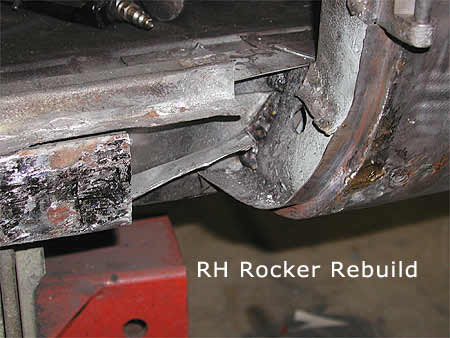
This RH side is closer to what the LH side looked like when it was started. Just a big chopped up missing area. So this photo of the RH side was taken before any repair work was done.
|

w50_05
|
First the bottom piece was made, fit and tack welded into place, (bottom arrow). Then, the upper rail piece is fabricated, fit into place and tack welded (top white arrow). The next step was to cut out the proper curved shape for the sill, (black arrow) then tack weld it into place. The fourth step was to make the center outer piece that attaches to the outer skin of the door pillar at the front. (see photo below of completed work)
|
w50_06
|
This photo shows the three pieces from above.
|
w50_07
|
Lastly, all pieces are welded together and the welds metal
finished smooth.
|
w50_08
|
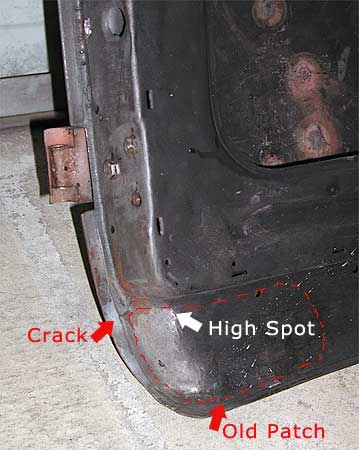
When the RH door was test fit back on the car after rebuilding the rocker. It was found that there was a high spot on the lower part of the door that was causing interference with the newly formed rocker section.
As it turns out, this was caused by an old poorly formed rust patch, (dotted line) that someone had welded into the inside door bottom. The shape of this patch was completely wrong when compared to the non-patched LH door. So, another hick-up in the flow of things, that must be fixed before moving on. "Par for this course."
|
w50_09
|
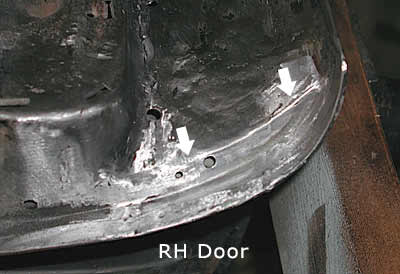
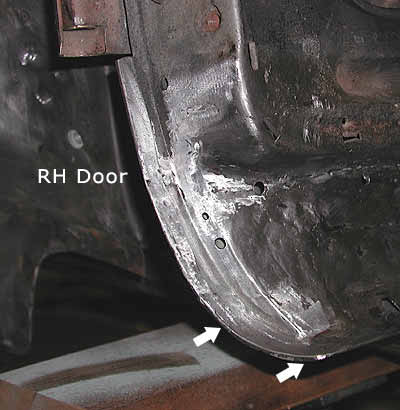
With the old patch worked down flat where the high spot was. A new piece of sheet metal was formed to the correct shape near the edge. (indicated by the arrows) The two holes that were added are correct. They are used to fasten the clips that hold the door weather seal.
|
w50_10
|
Arrows point to the finished outer bottom pinch welded flange that also needed to be remade. The metal here was extremely thin. A new edge section was welded in and metal finished. (area between arrows)
|
Back to Top
|
|
